Good custom enclosure design determines how long a service call takes before a technician ever opens a panel. Access points, fastener selection, labelling, and cable routing are all decisions made at the design stage. A well-designed enclosure turns a fuse swap into a five-minute task. A poorly designed enclosure turns it into a 45-minute ordeal and often a callback – an extra visit that costs time and money.
Access, Fasteners, and Tools
Start by mapping what needs regular access (filters, fuses, connectors, batteries, displays) vs. what should stay sealed (high-voltage, calibrated assemblies). Give each service zone its own dedicated panel instead of forcing a full teardown for a five-minute task.
A few choices for custom enclosure design that pay off consistently:
- Hinged doors or drop-down panels for frequent access; removable covers for rare access
- Panels that come off with minimal clearance around the unit for tight cabinets and racks
- No “last screw” surprises where a panel drops or binds on the final fastener
- One screwdriver size or one hex key wherever possible
- Captive or retained screws in high-access areas so nothing gets lost or dropped in a live cabinet
- Self-locating features so a panel can’t go back on misaligned or backward
- Tamper-resistant fasteners only where security or safety genuinely requires them
Clear and Helpful Labelling
In custom enclosure design, labels are the cheapest fix with the biggest payoff. Label power entry points and disconnects, fuse and breaker locations with ratings, connector functions (“Comm A,” “Sensor In,” “24V Out” rather than a bare part number), and orientation markers right next to the part they describe, not on a separate legend panel.
Use materials and printing methods that survive UV, chemicals, cleaning, and temperature cycling with text large enough to read in poor light. QR codes linking to manuals, wiring diagrams, or short video walkthroughs are a useful add-on in custom enclosure design.
Note: The physical label still needs to carry complete information on its own since connectivity isn’t guaranteed in every area a technician is sent to.
Cable Routing: Don’t Make Cables the Enemy
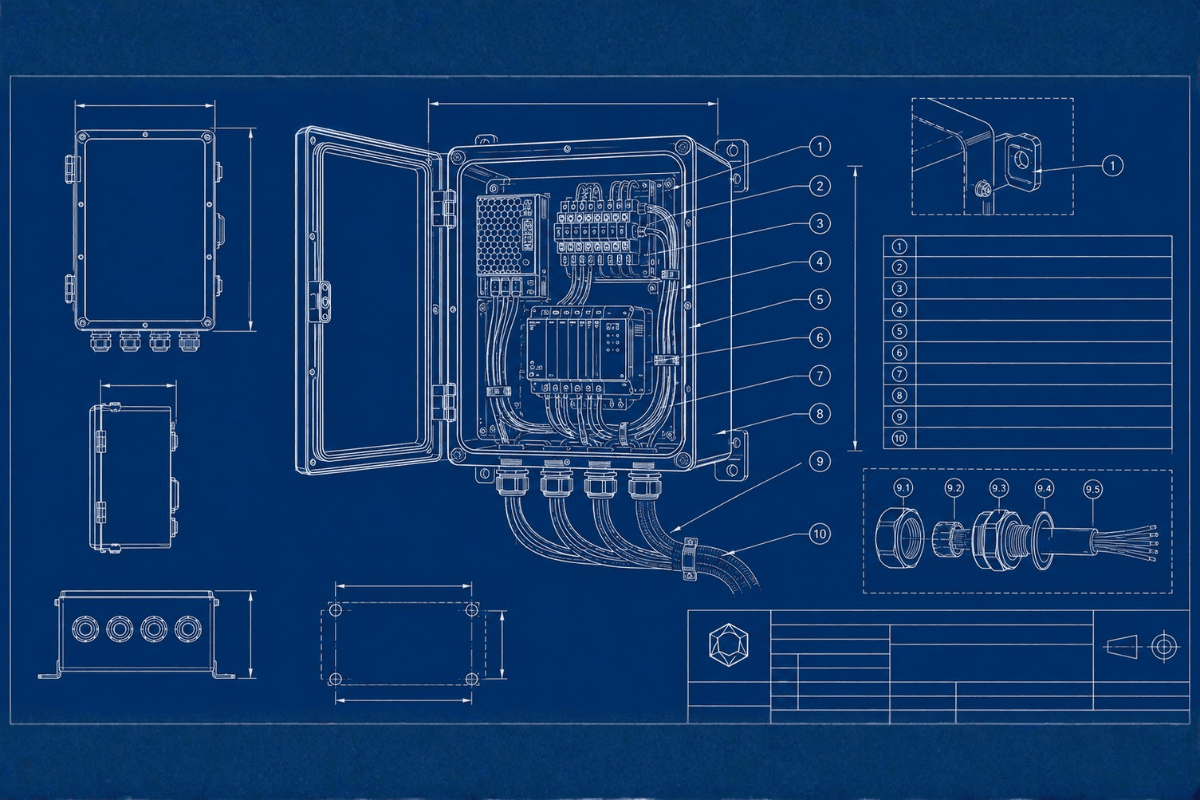
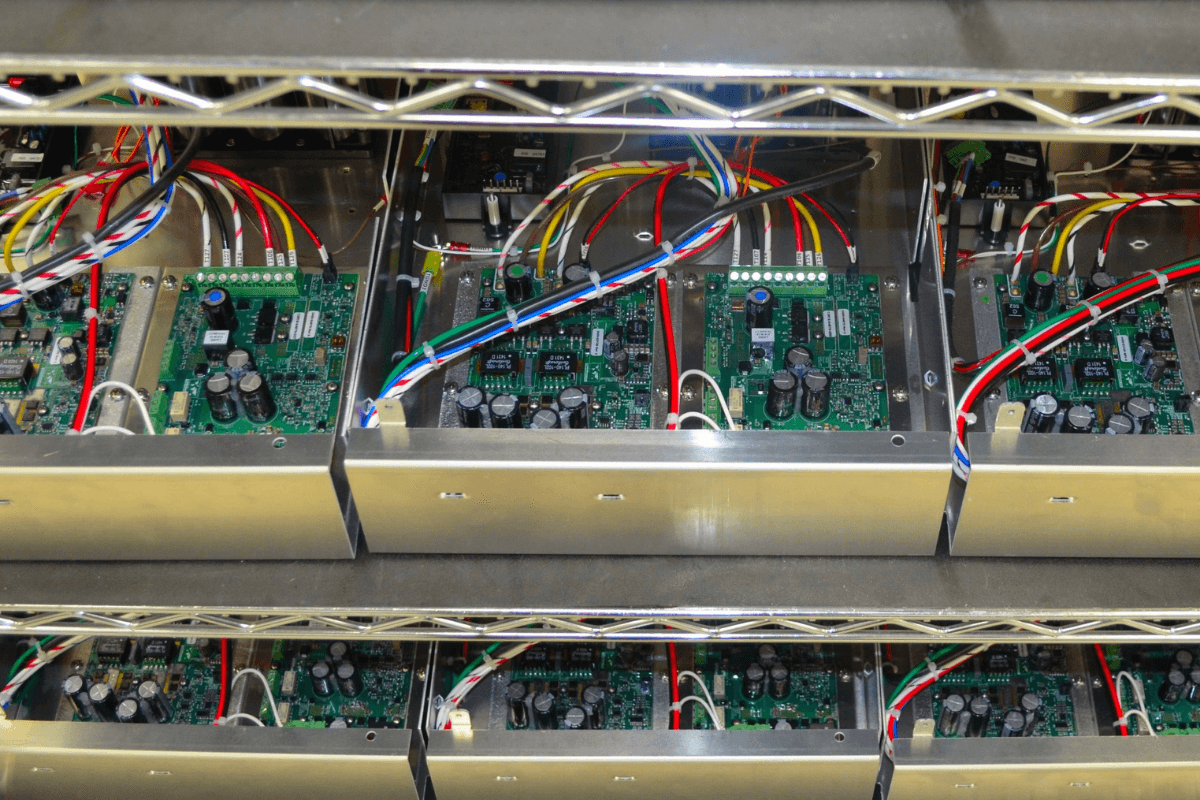
Dedicated channels, clips, or tie points keep wiring on a predictable path instead of draped across whatever board is in the way. Separate high-voltage and low-voltage wiring physically and label it as such. Where possible, use consistent connector keying and simple colour-coding to make miswiring visually obvious before a connection is even made. For example, one colour for communications and another for 24-V control.
Put frequently disconnected connectors near the access panel, not buried behind a board, and orient them so cables don’t need a sharp bend or a full disconnect to reach something else. Build in strain relief and enough slack that opening a panel fully never stretches or unplugs a connection.
How Enclosure Design Shows Up On the P&L
Saving ten to fifteen minutes per service call sounds small until it’s multiplied across hundreds or thousands of visits a year across numerous sites. That time shows up as lower labour cost, fewer truck rolls, and better uptime for the customer. Clear labelling and constraints make the wrong move physically hard. A service-friendly custom enclosure design shortens the learning curve for new technicians and third-party service partners, which matters once a service network needs to scale beyond your most experienced people.
Here’s what these upgrades look like in practice:
Access panel redesign.
Replacing a fuse used to mean pulling the whole enclosure apart (a 25- to 30-minute job). Add a dedicated fuse panel with two captive thumb screws, and the same task takes 5-7 minutes.
Cable routing fix.
A board that needed regular inspection used to require disconnecting and re-terminating cables just to see it. Route those cables through a dedicated channel with a proper service loop, and the board is fully visible without touching a single connector.
Labelling overhaul.
Generic tags like “J1” and “J2,” paired with a manual nobody has on hand in the field, are replaced with function-based labels at each connector plus a QR code to the current wiring diagram. Miswiring incidents dropped measurably once techs could just look and confirm instead of cross-referencing paperwork.
A Quick Checklist for Custom Enclosure Design
- Have all regular service points been given dedicated access instead of requiring full enclosure removal?
- Can the most common tasks be done with one or two common tools?
- Are critical connections labeled at the point of use, not just in a manual?
- Do cables follow defined paths with enough slack for a panel to fully open?
- Are fasteners in high-access areas captive or retained?
- Could a new technician with minimal training service this unit safely and correctly?
If the answer to any of these is no, we recommend revisiting the design before it’s locked.
Make Proper Enclosure Design a Requirement, Not an Afterthought
Serviceability holds up best as a formal design requirement alongside performance, cost, and industrial design – not something addressed after tooling is already cut. That’s why it helps to bring an EMS and sheet metal partner in early, while access points, fastener strategy, and cable routing are still open questions.
We’ve written before about how DFM principles improve sheet metal fabrication and about choosing between sheet metal fabrication and CNC machining for enclosures. Serviceability belongs in that same conversation.
If you have a current or upcoming enclosure project, we’d be glad to offer a design review focused specifically on serviceability. Call IMS today to discuss custom enclosure design or reach out through our contact form to get started.